
We're taking you behind-the-scenes of our jewelry studio in Tokyo. Here are the process of making wedding rings for A & N.
The Process

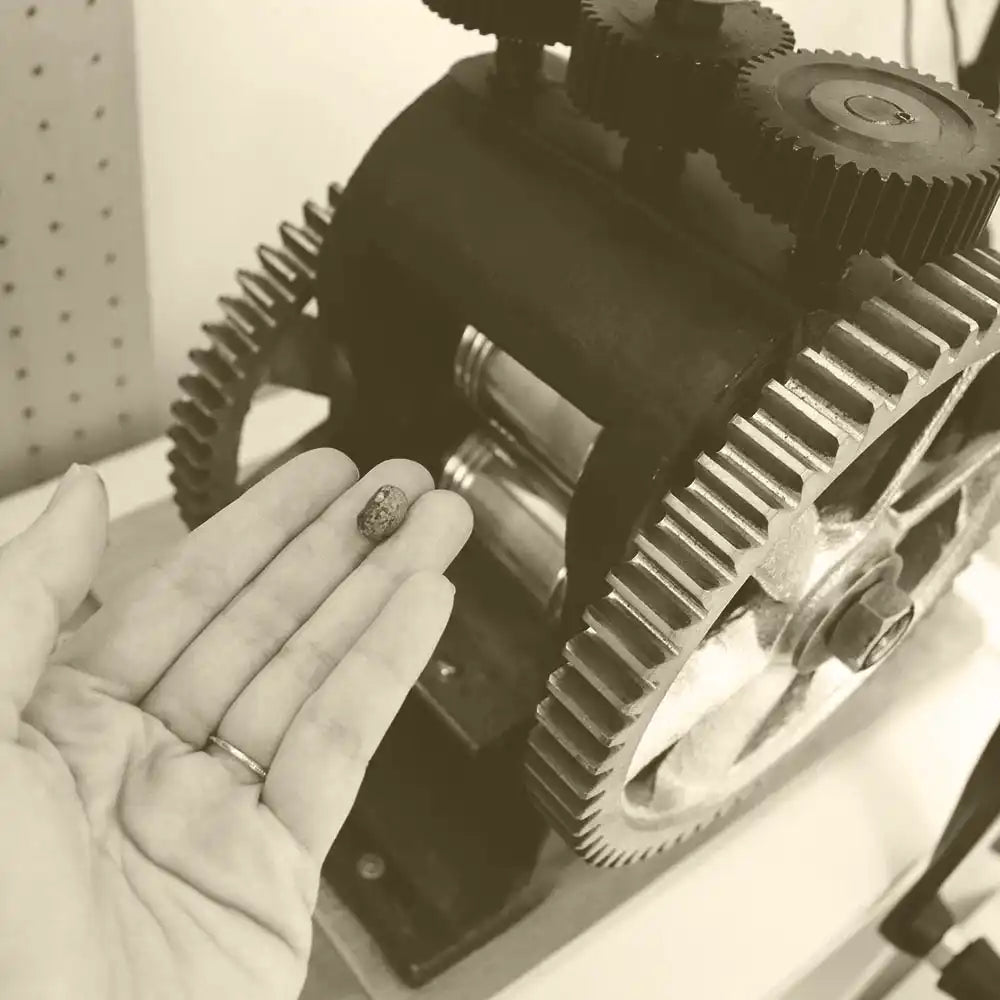
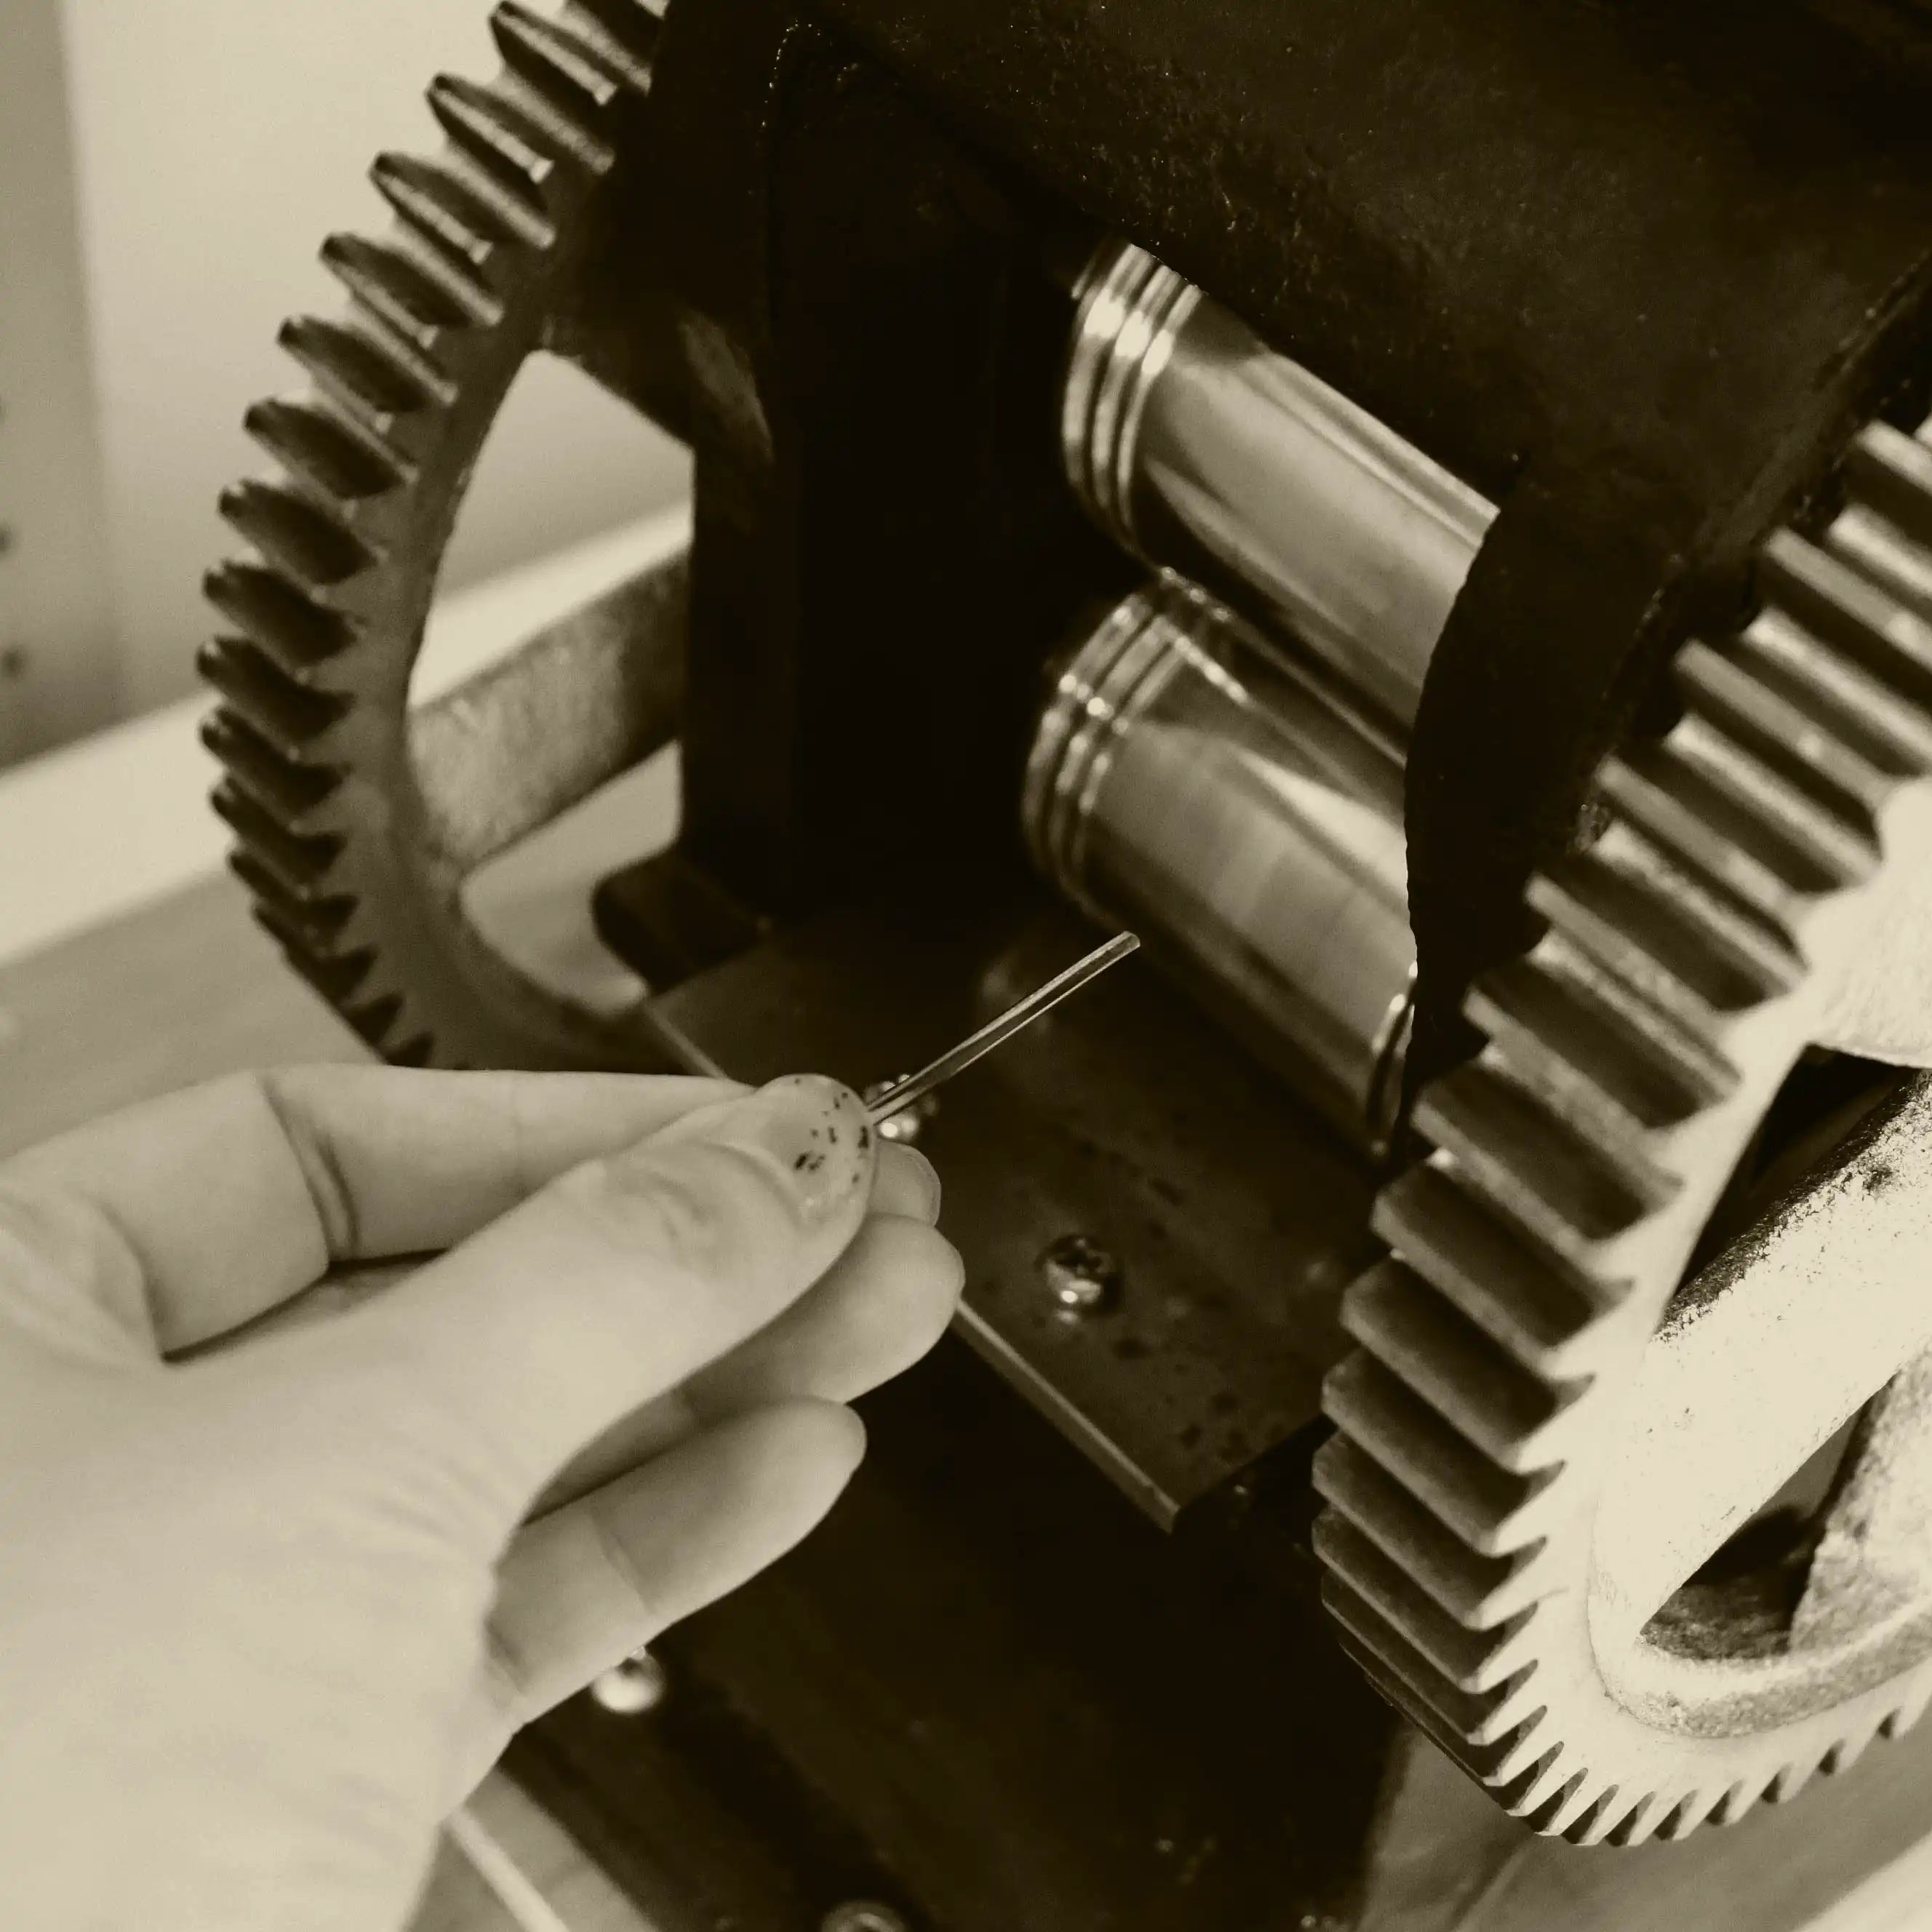
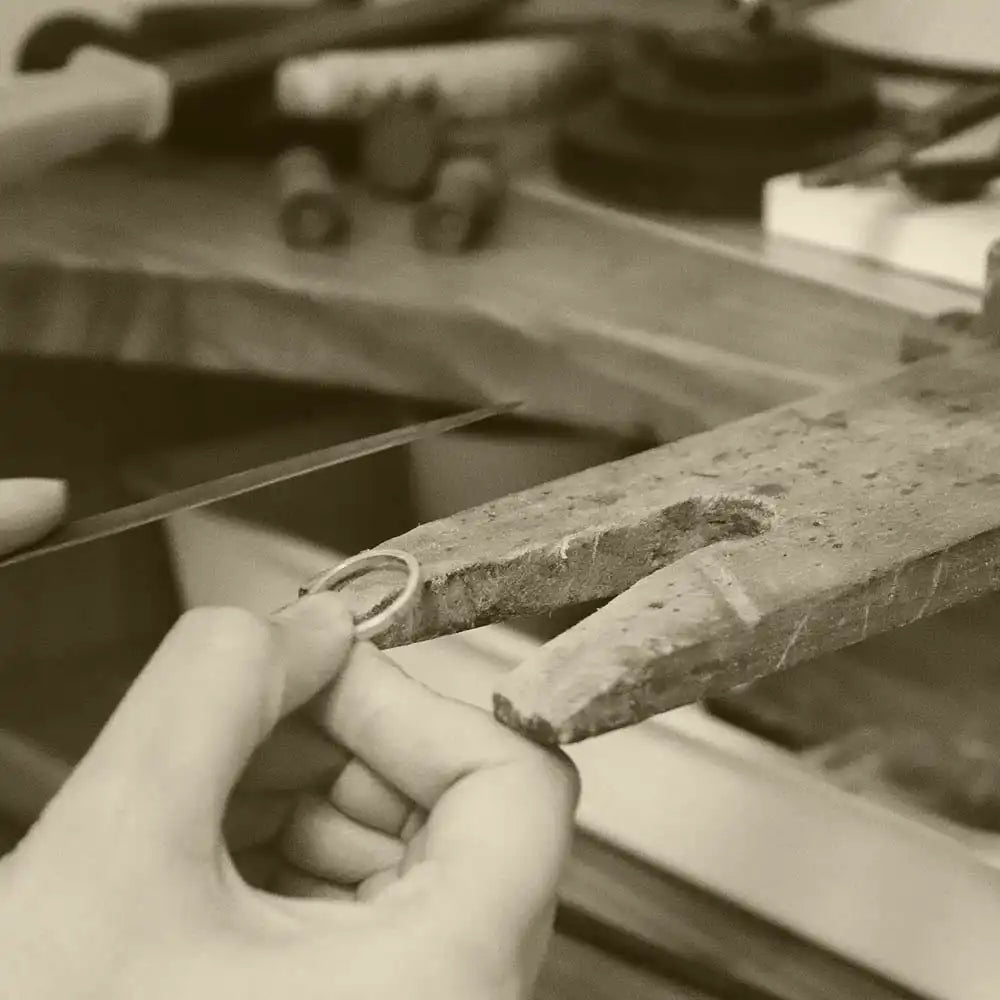
Annealing

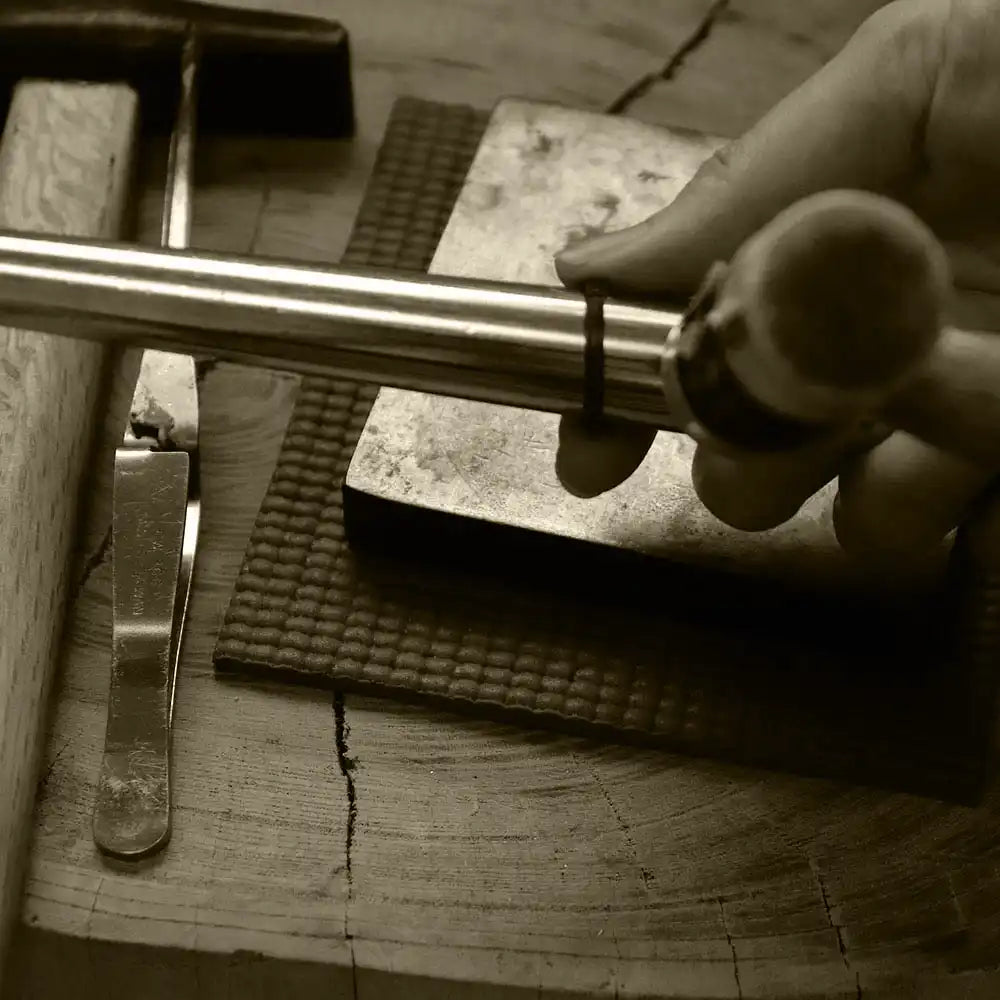
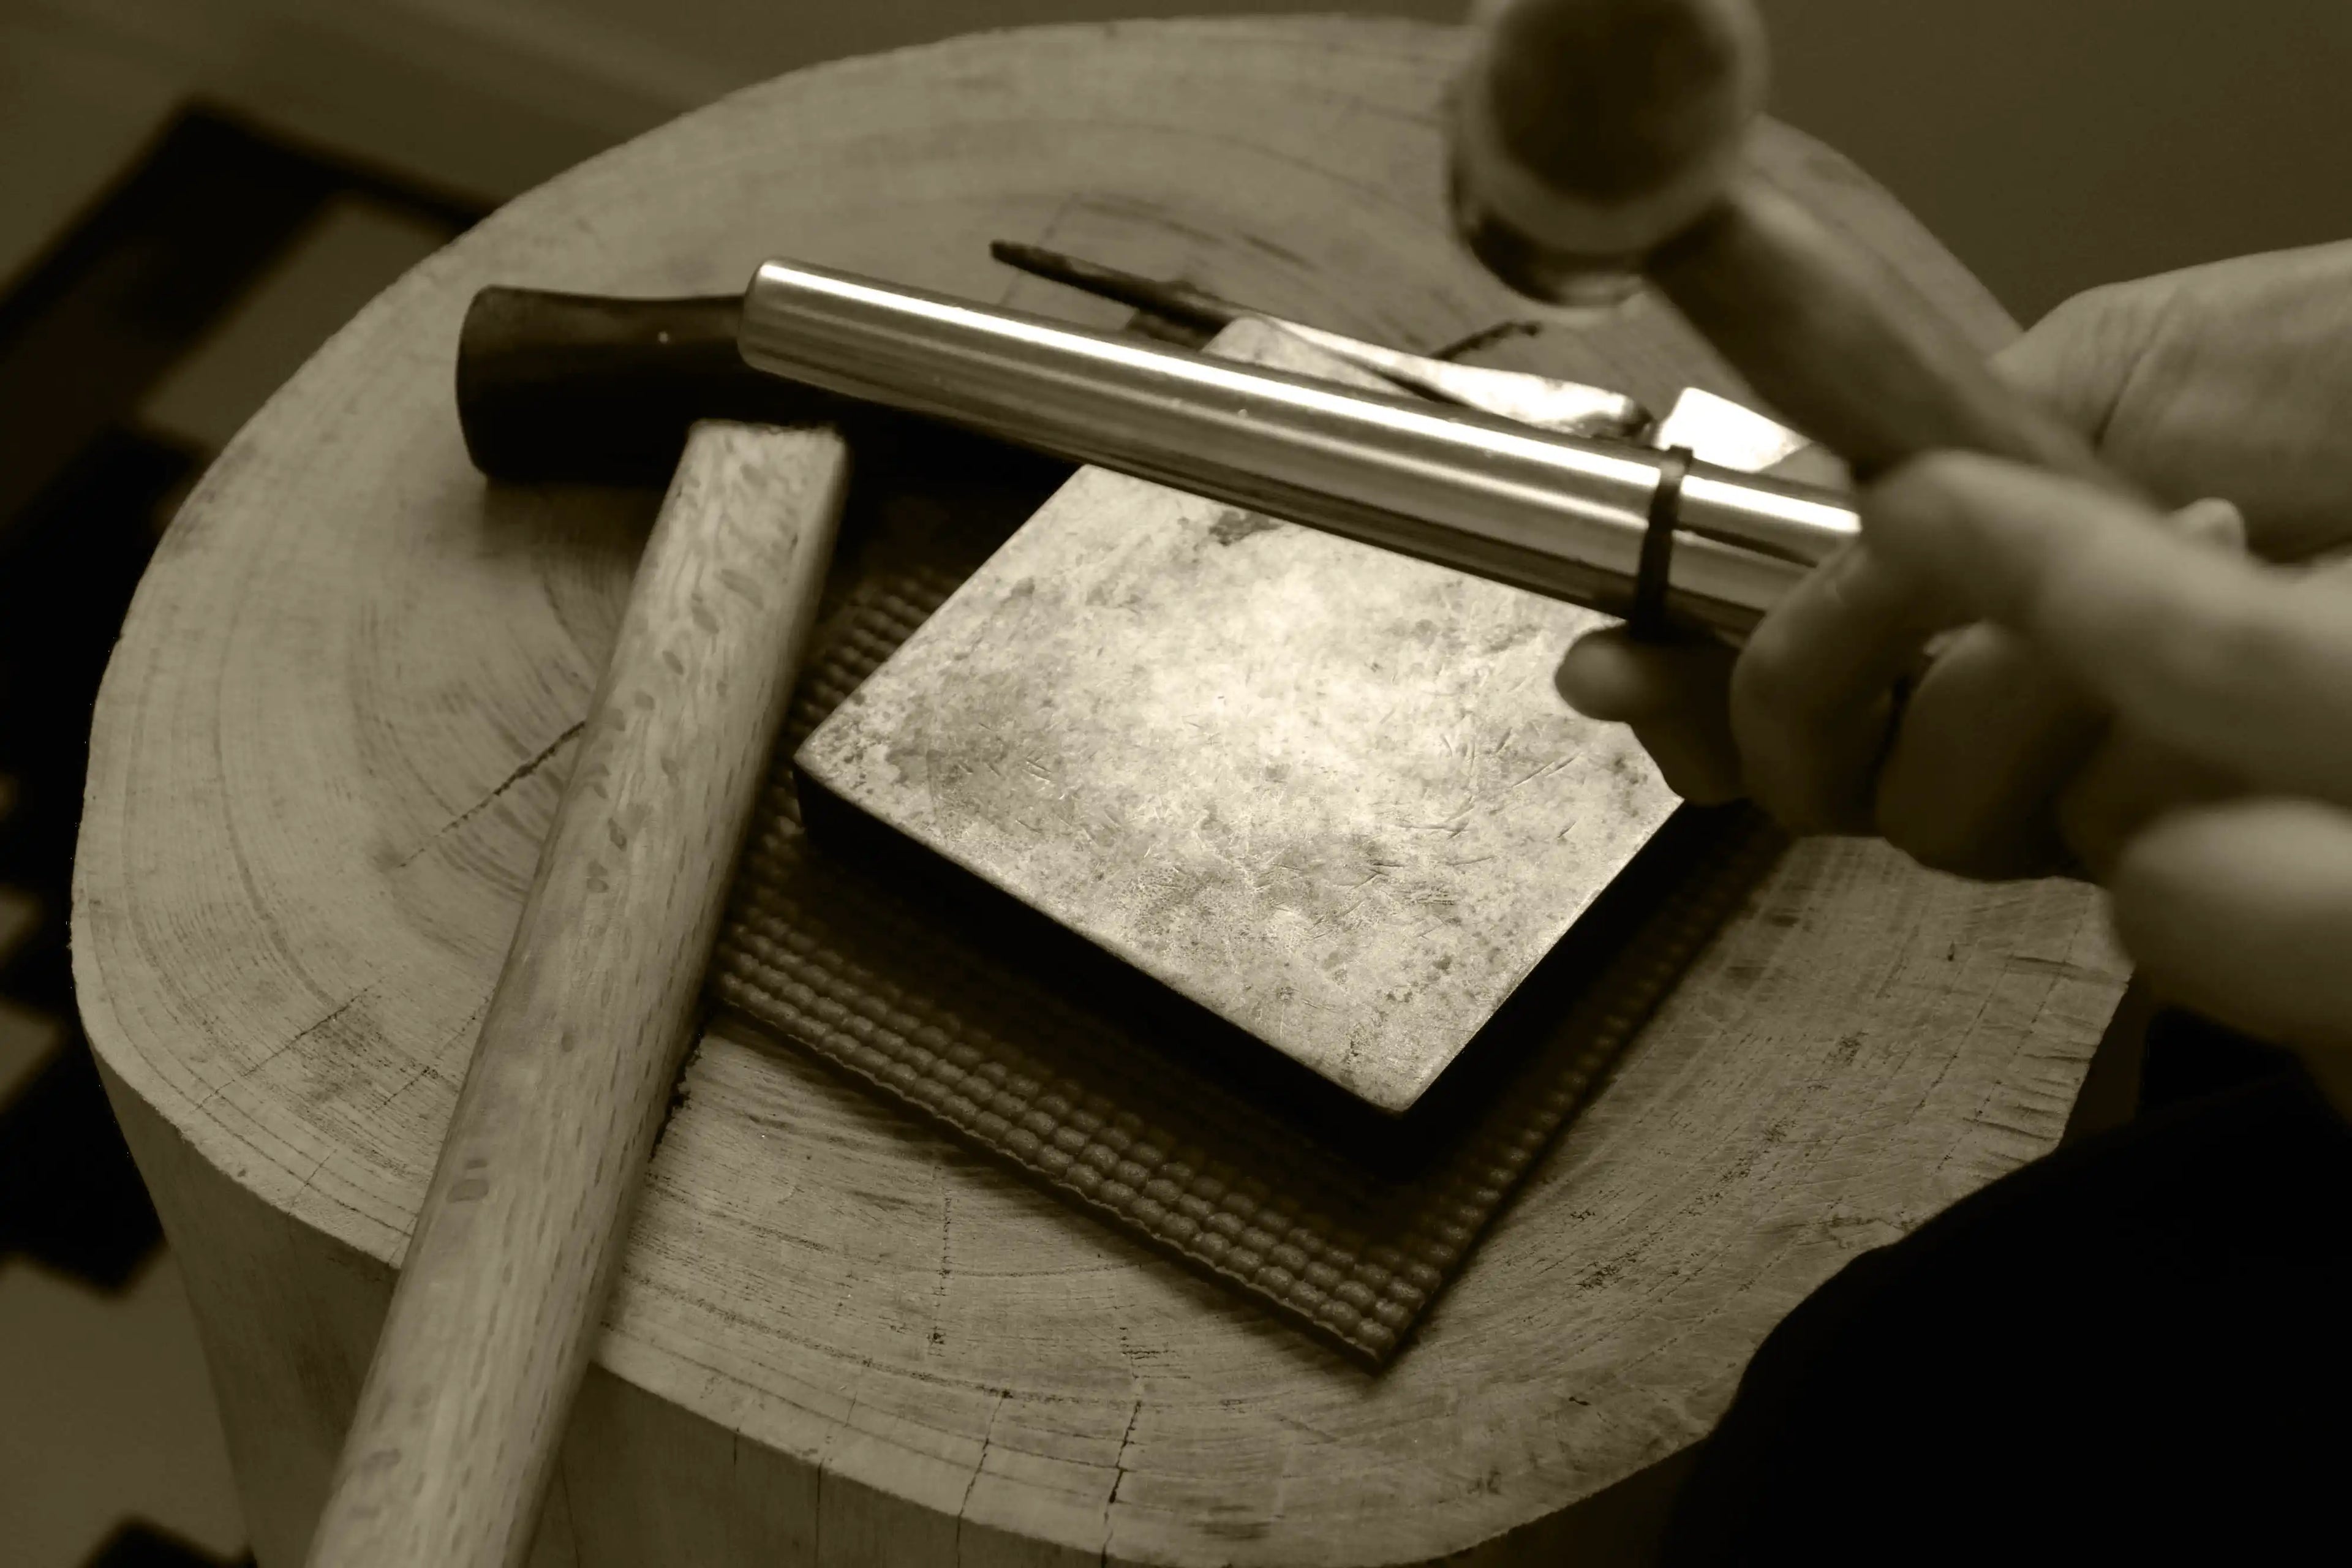
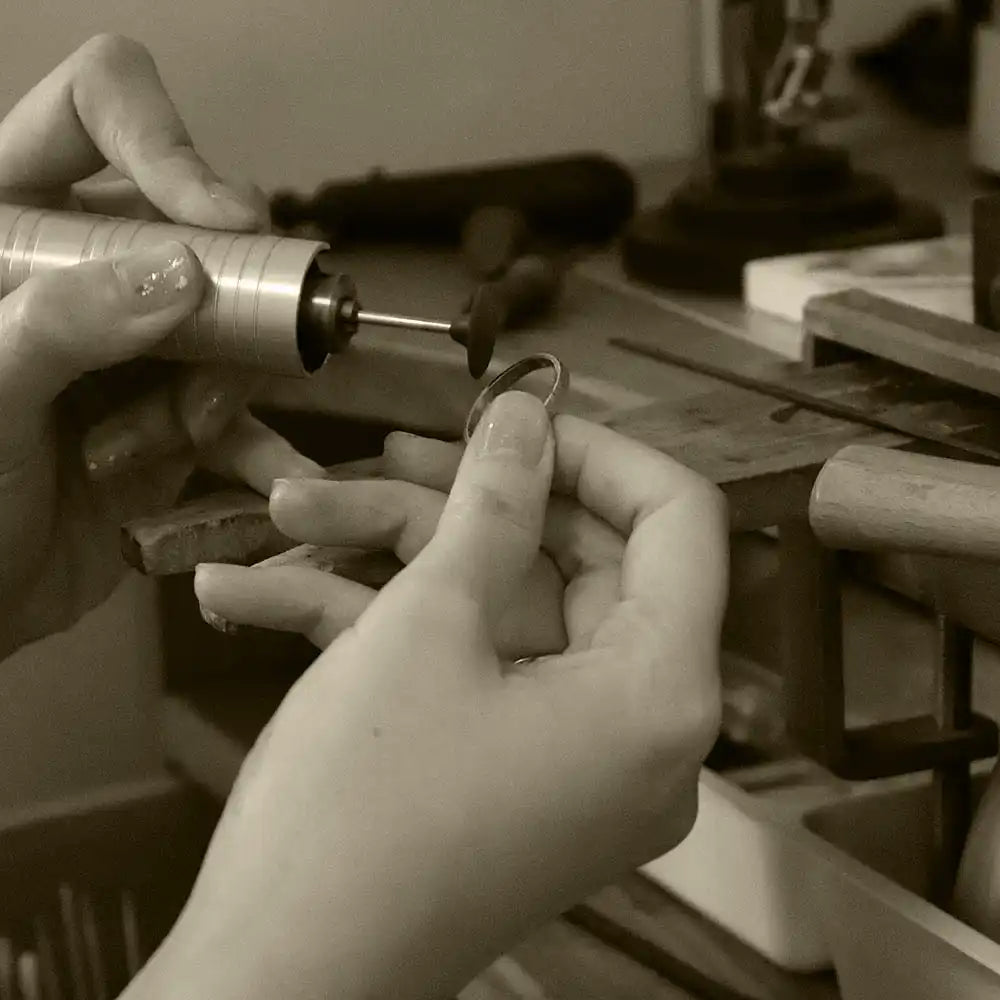
Forming & Filing
-
Thanks so much for reading. We hope you enjoy these behind-the-scenes process as much as we enjoyed making your jewelry.
We love custom designs and working with you to create unique pieces just for you.Please feel free to contact us with your ideas, we’d love to hear from you.

In the story
-
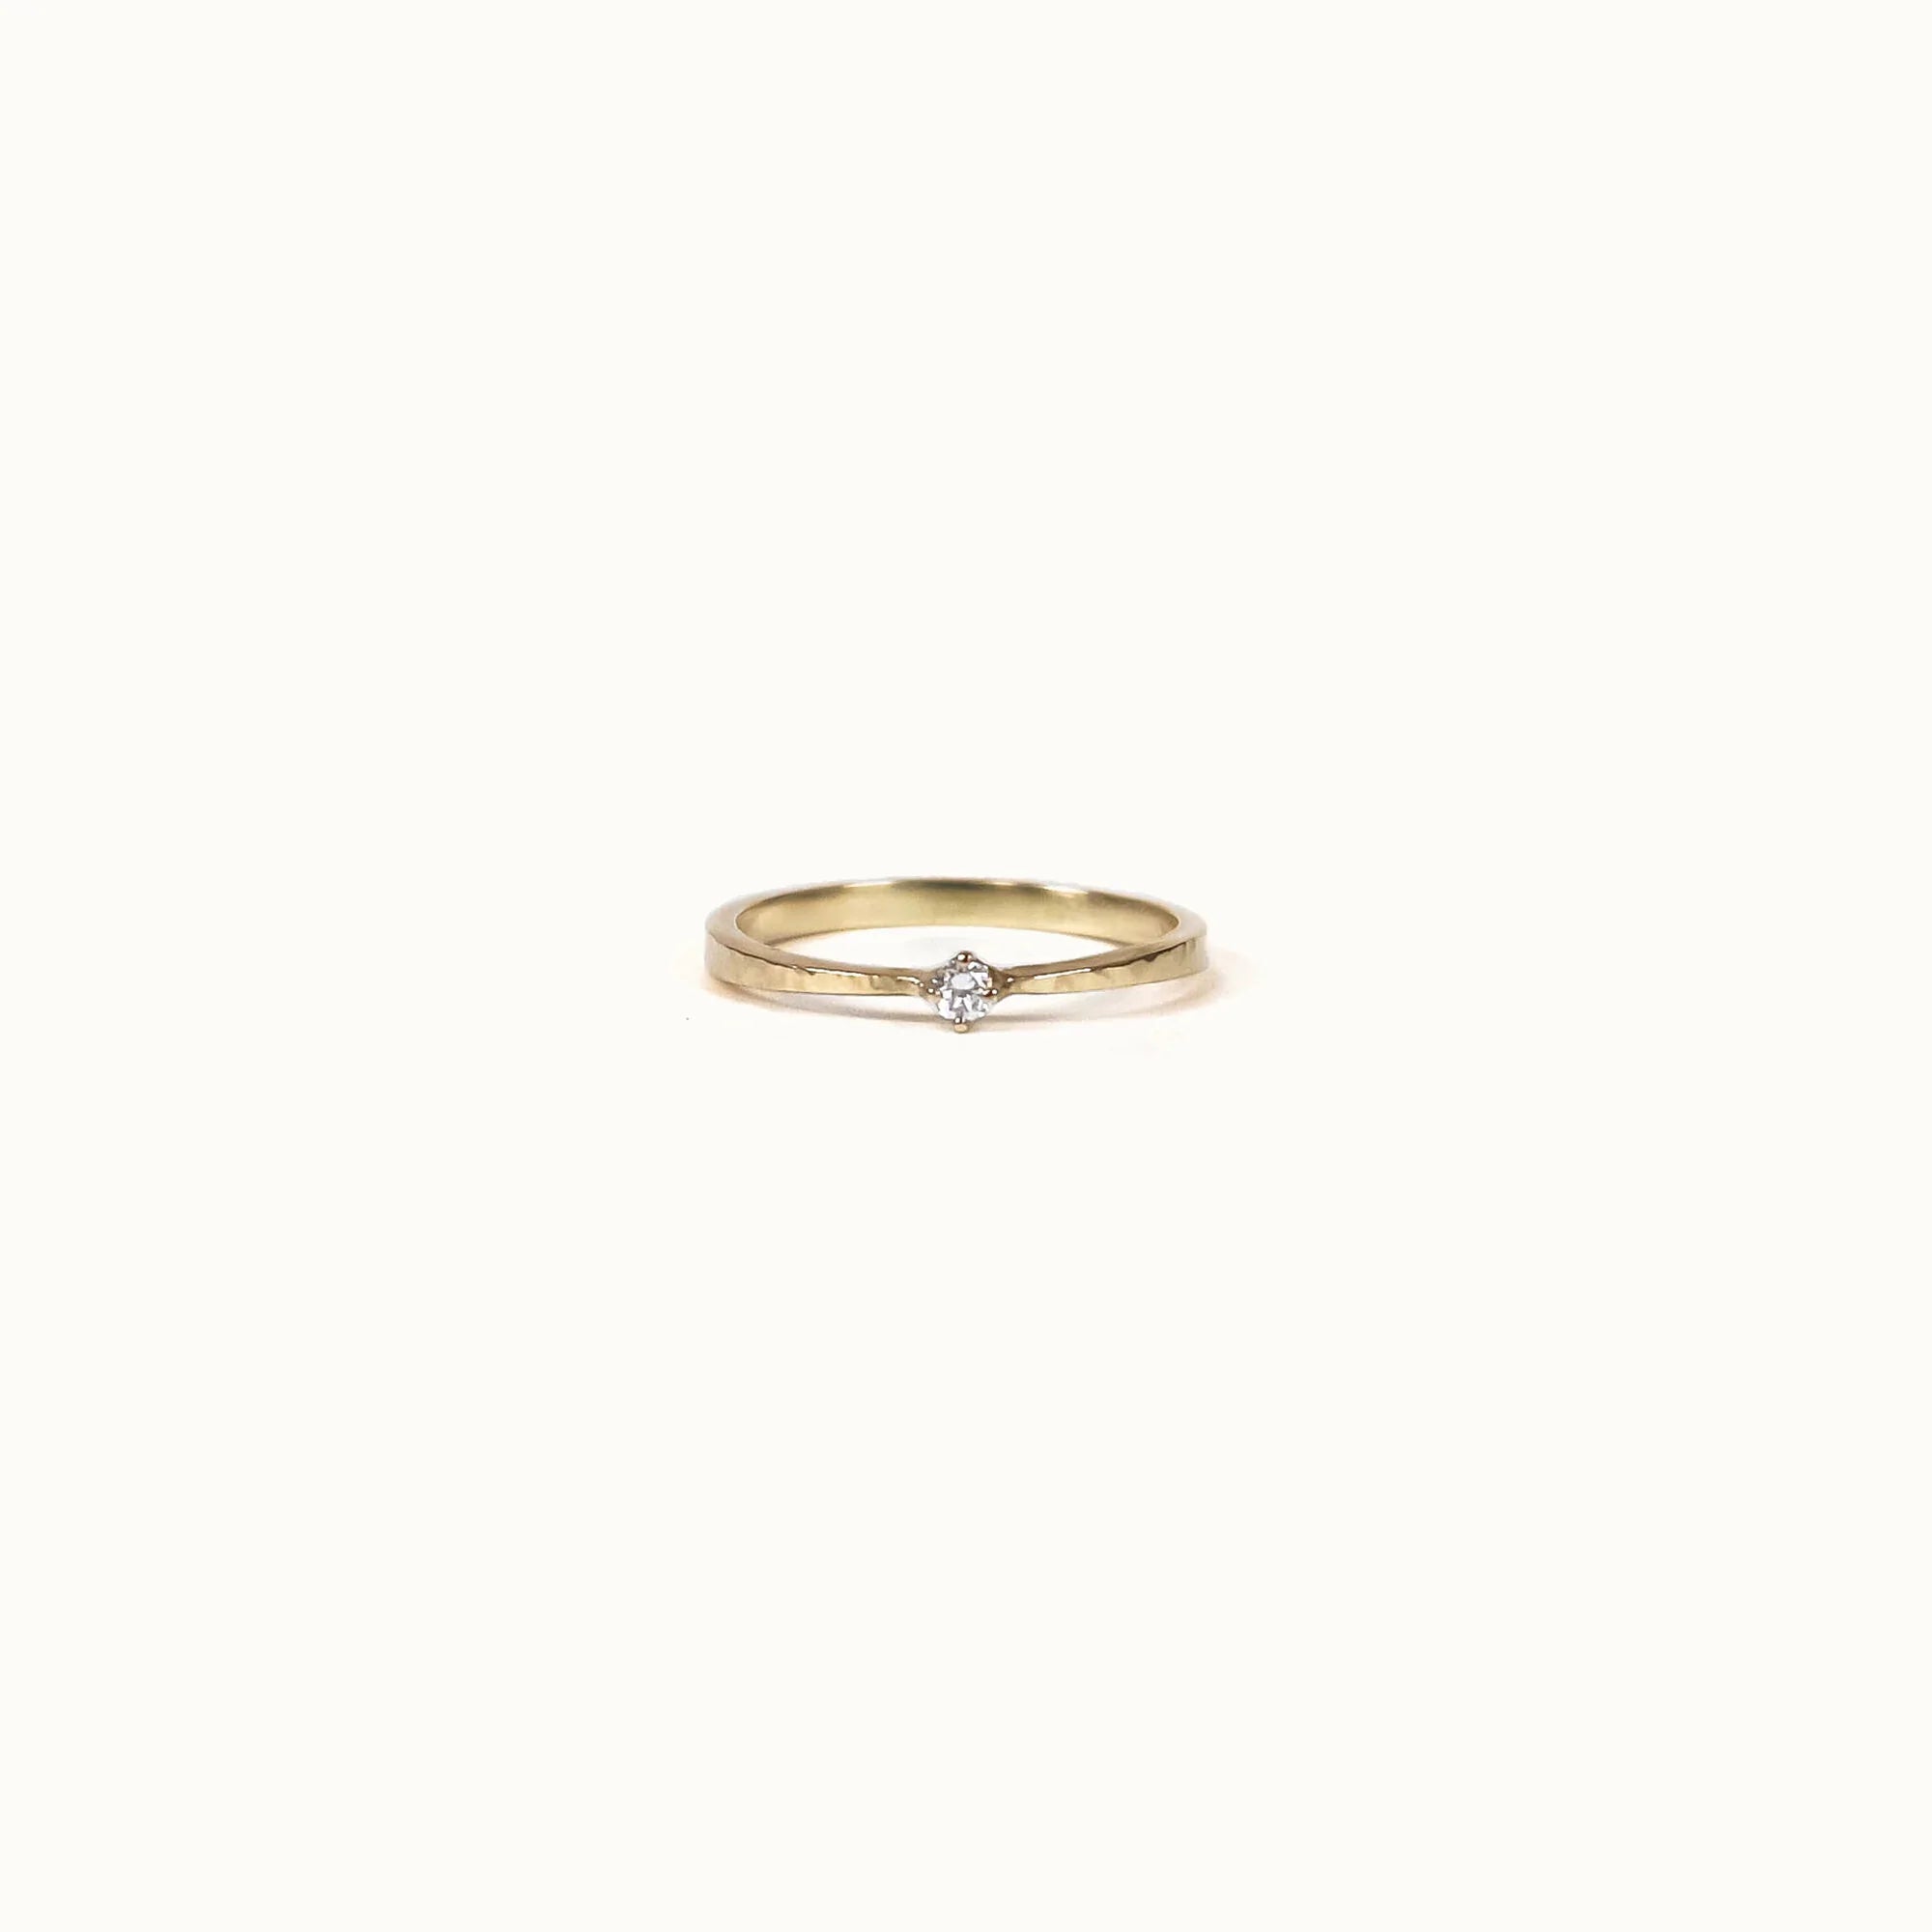
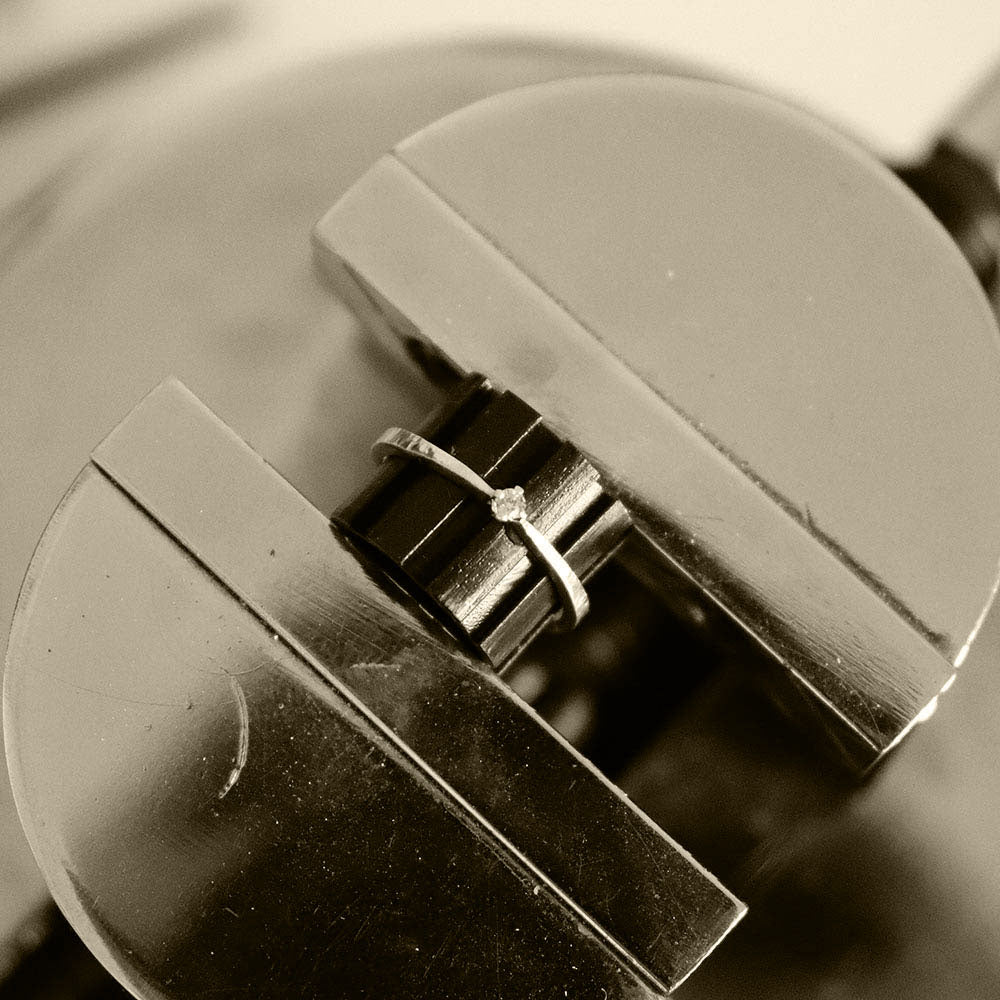
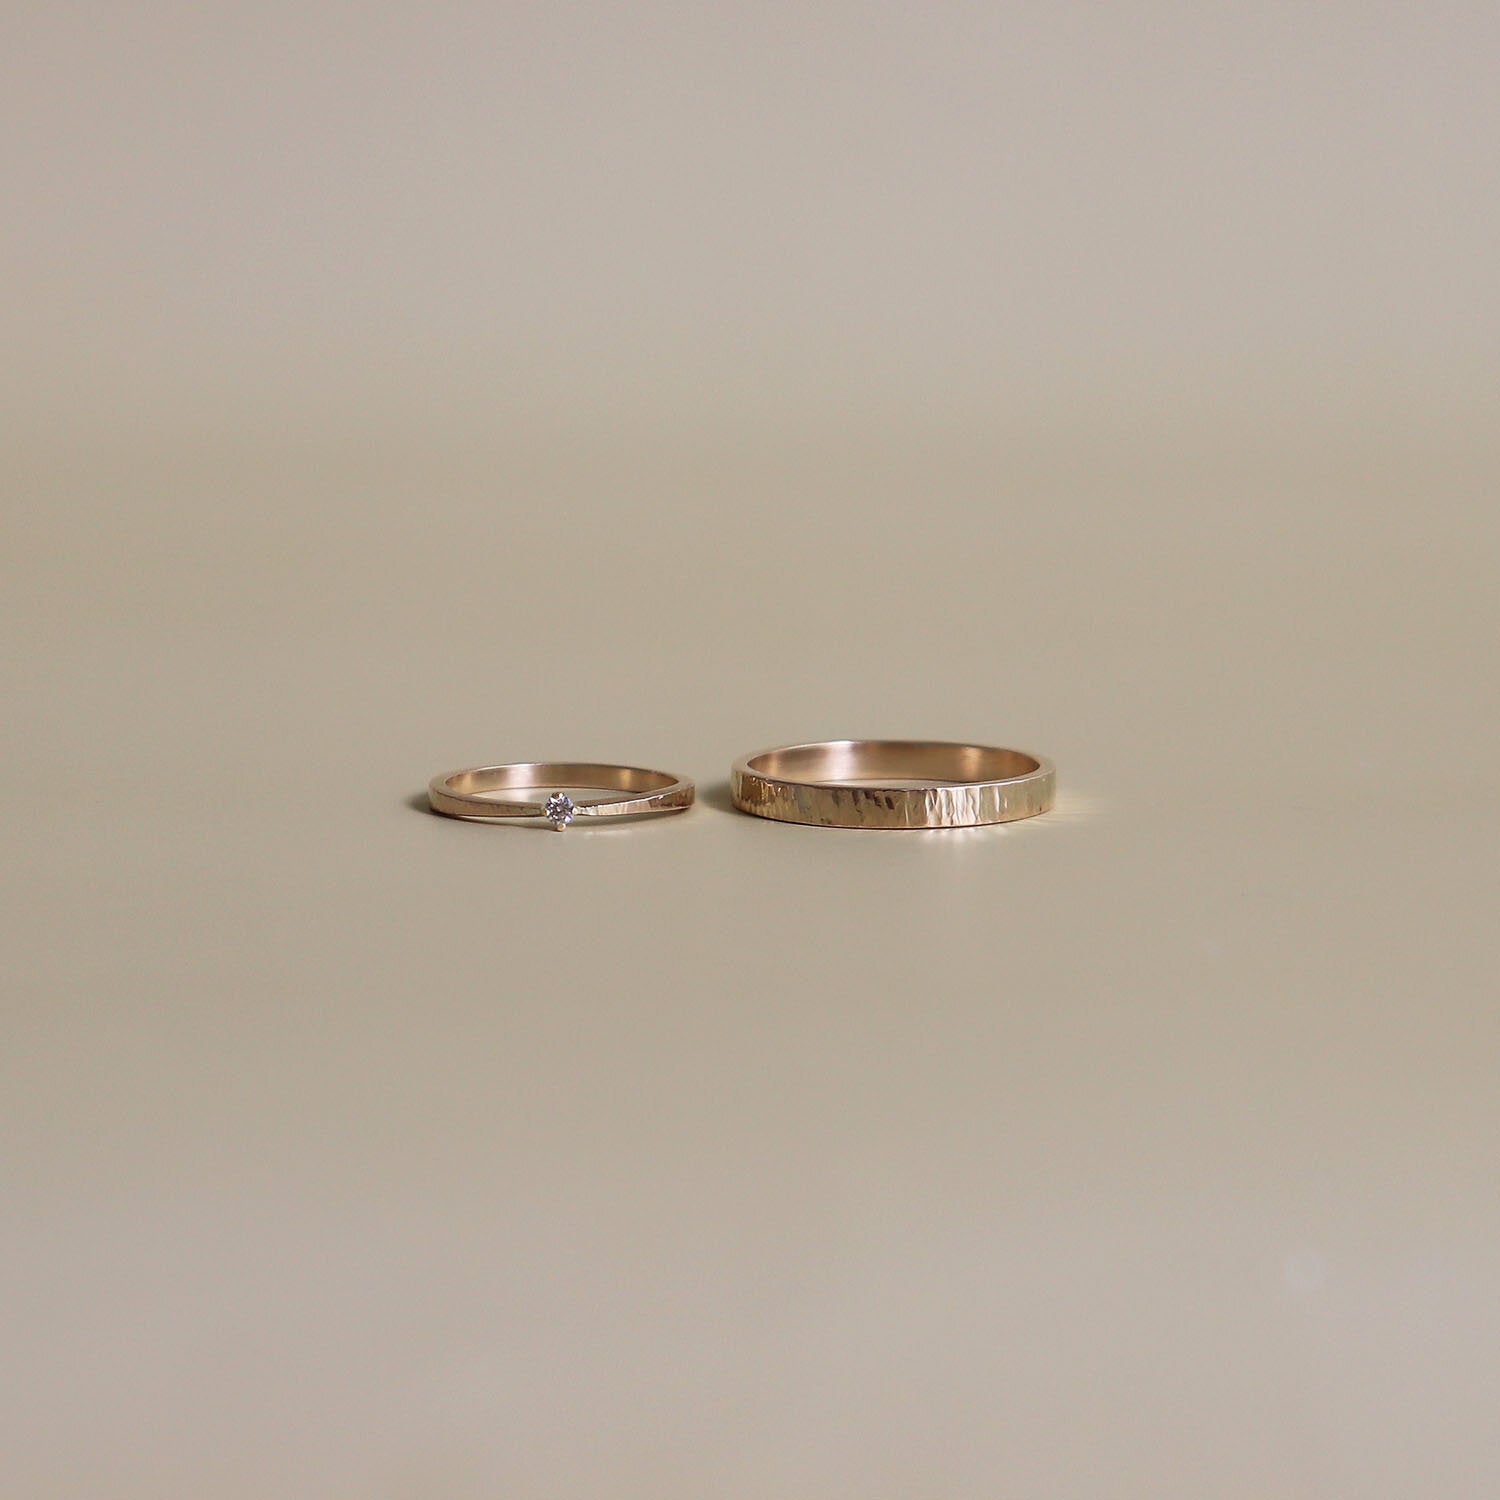
Claire - Baby Diamond Ring
Learn moreBaby diamond solitaire ring on a textured 14k yellow gold band. Sleek, delicate beauty.
-
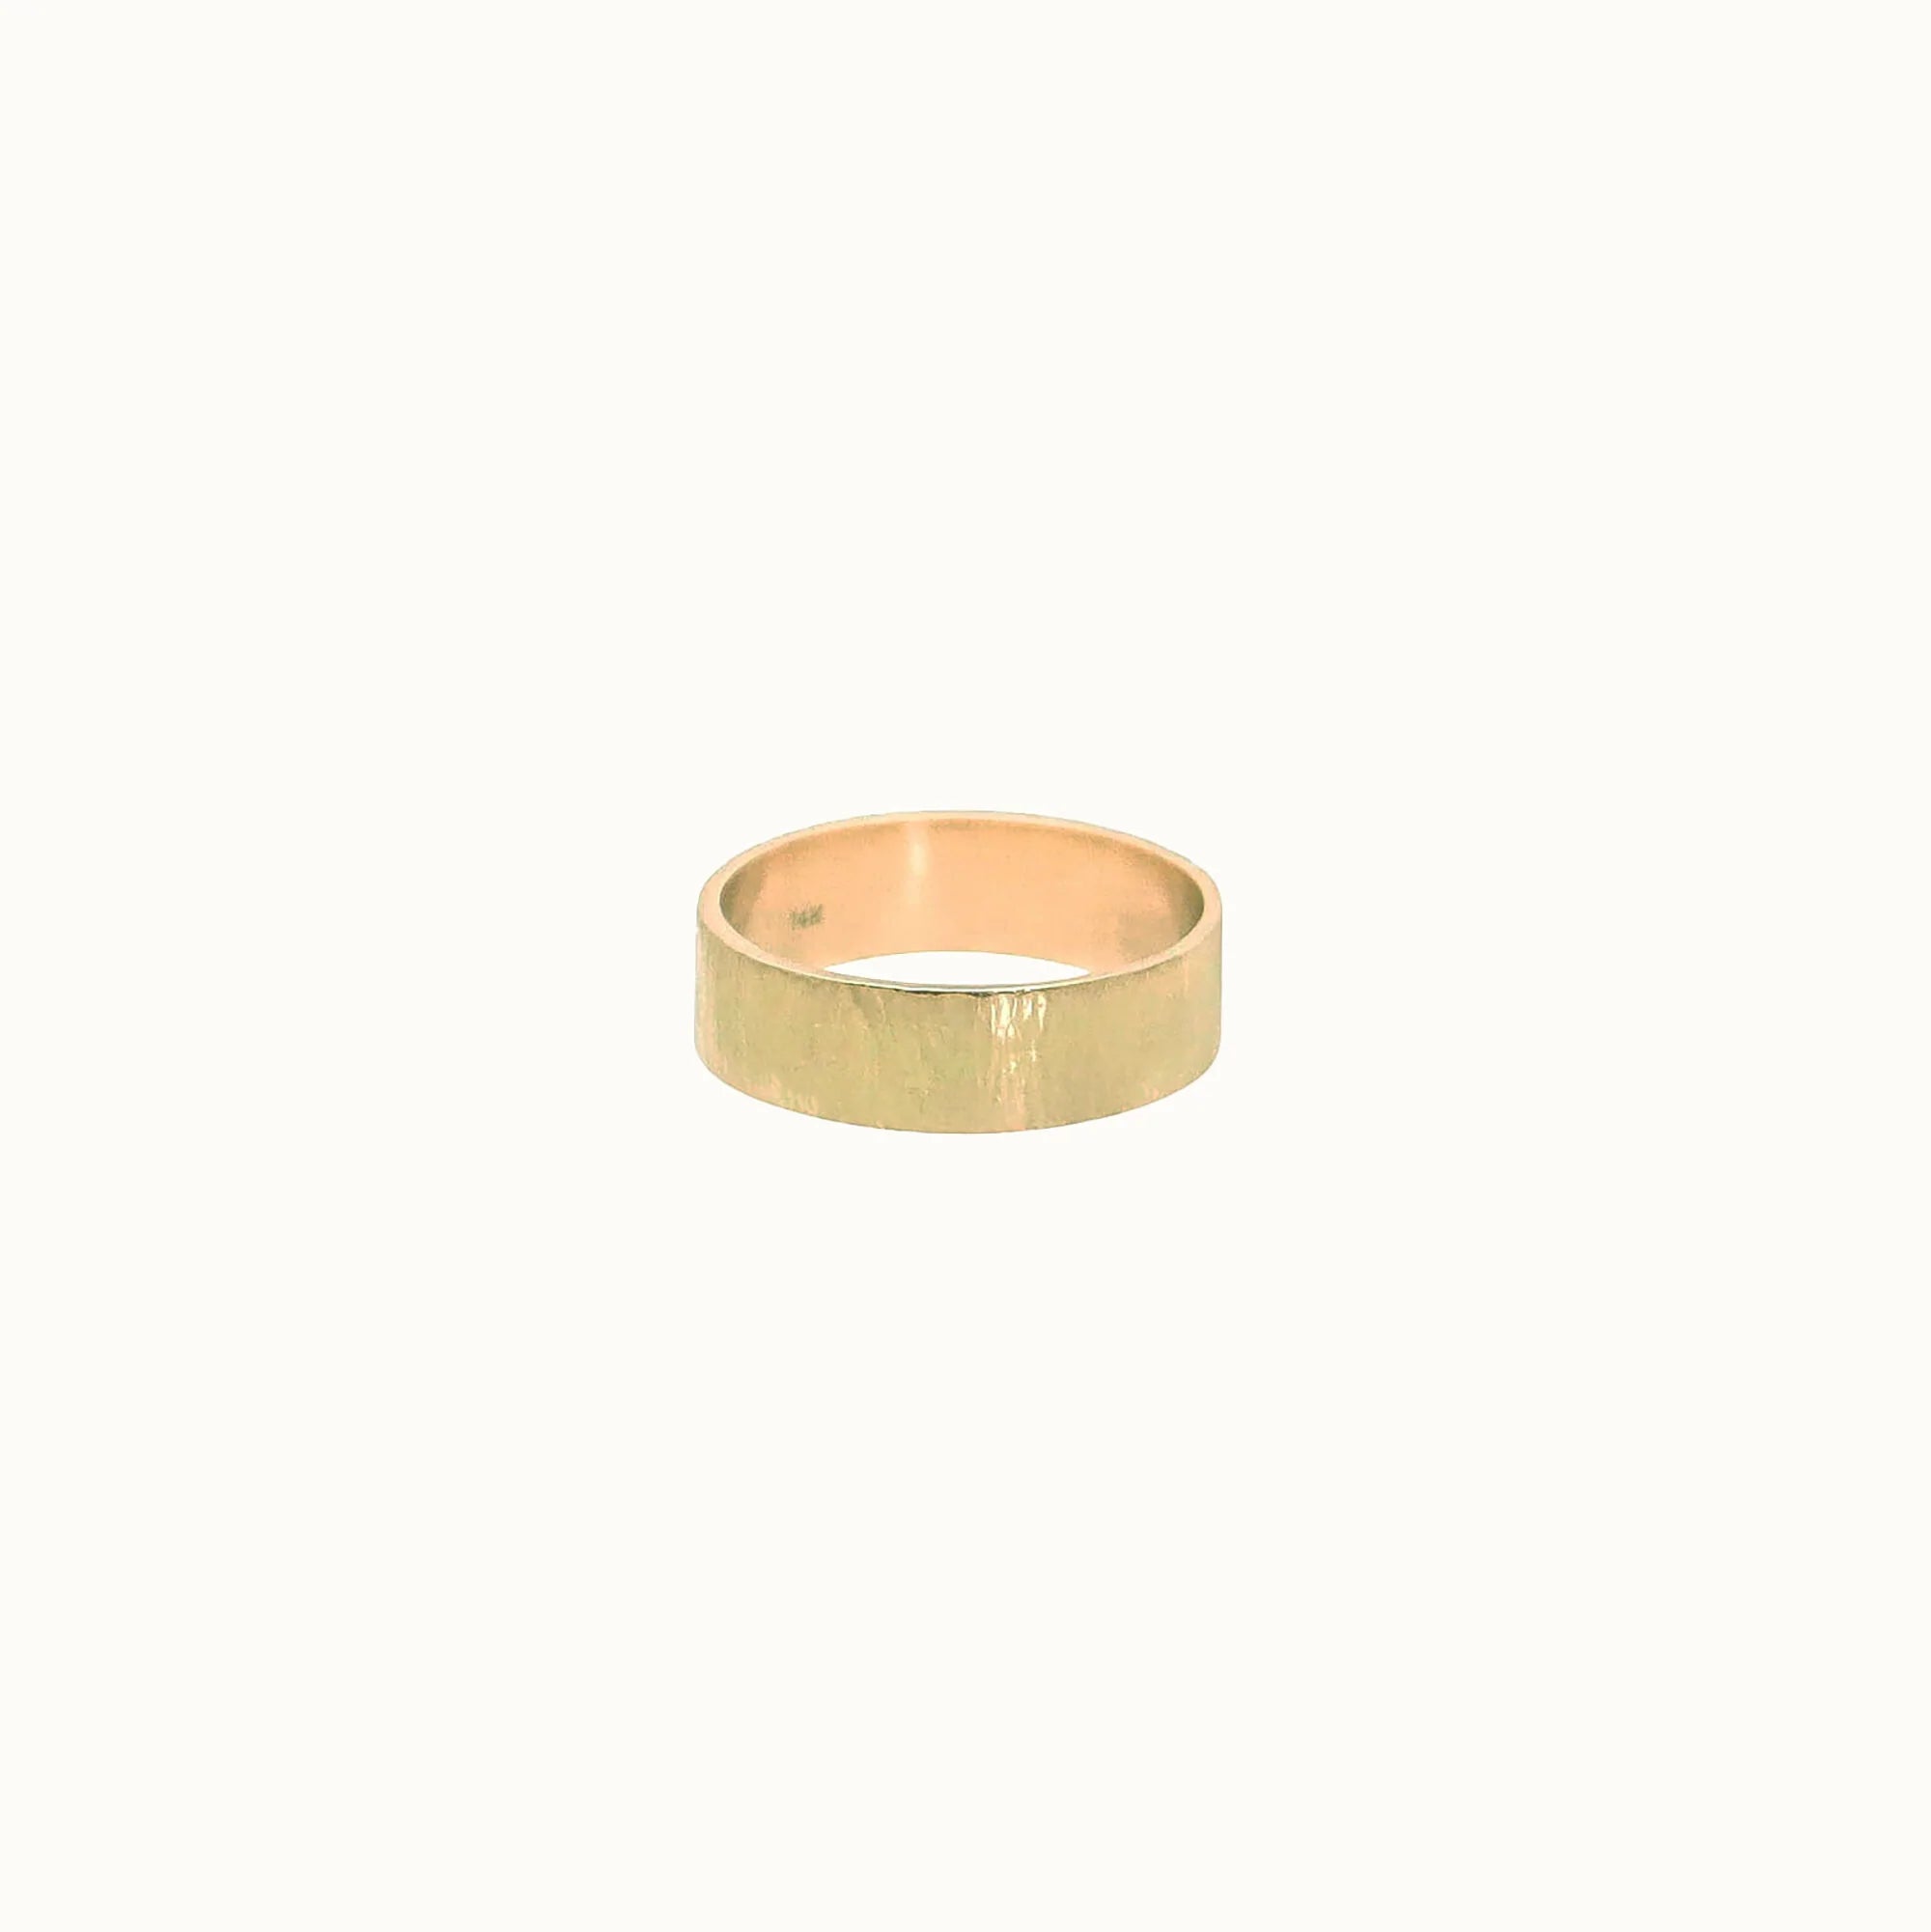
Bark Textured Band 6mm
Learn moreClassic and subtle with bark textured band. Handcrafted and hammered in our studio.

